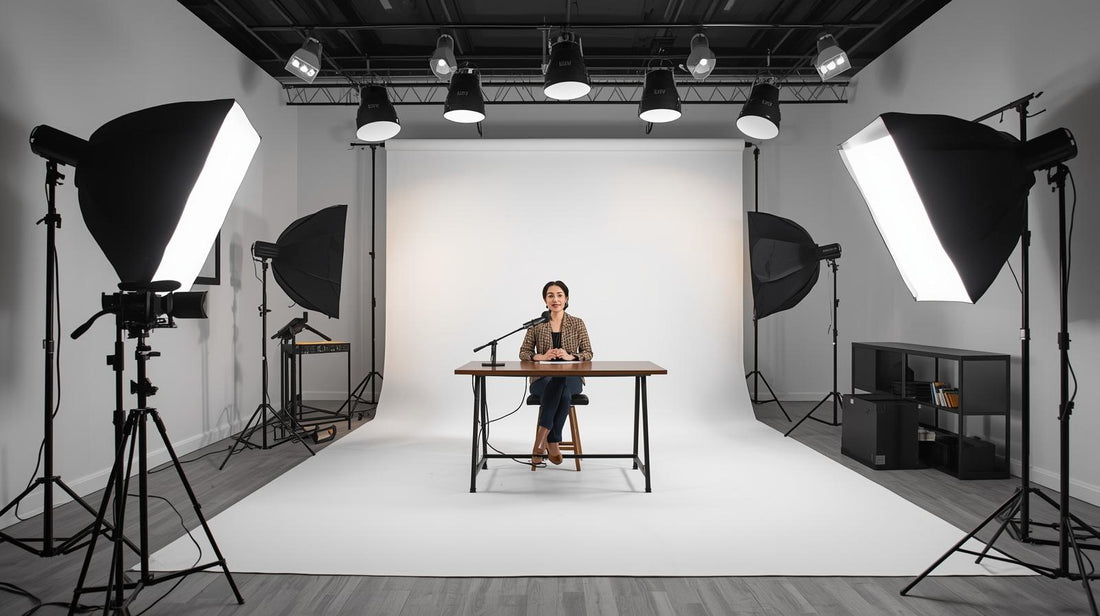
Lighting is one of the most important parts of creating professional-looking video content. Whether you’re starting a YouTube channel or recording video podcasts, good lighting helps you look sharp, keeps your audience engaged, and makes your production stand out. The best part? You don’t need a Hollywood budget to get it right—you just need to understand the basics.

1. Use Natural Light When You Can
If possible, set up your studio near a window. Natural daylight is soft, flattering, and free. Position yourself facing the light (not with it behind you) to avoid shadows and backlighting. If the light is too harsh, diffuse it with curtains or blinds to soften the glow.
2. The Classic Three-Point Lighting Setup
The industry standard for video is the three-point lighting system, which uses three types of lights:
- Key Light: The main light placed at a 45-degree angle from your face. This is your brightest source.
- Fill Light: A softer light on the opposite side that reduces shadows created by the key light.
- Back Light: Positioned behind you to create depth and separate you from the background.
This simple setup creates a balanced, professional look that works in any studio.
3. Ring Lights and LED Panels
Ring lights are popular with podcasters and YouTubers because they provide even, flattering light that reduces facial shadows. For more flexibility, LED panel lights are a great option—they let you adjust brightness and color temperature for different moods or settings.

4. Control Your Background
Lighting isn’t just about your face—it’s also about your environment. Make sure your background is evenly lit, without being too bright. A small accent light or RGB light can add color and personality to your studio wall or bookshelf, giving your videos a unique style.
5. Avoid Common Mistakes
- Don’t rely on overhead lights: Ceiling lights create unflattering shadows under your eyes and chin.
- Watch for glare: If you wear glasses, adjust your lights to the side instead of directly in front of you.
- Balance color temperature: Mixing warm (yellow) and cool (blue) lights can make your video look odd. Stick to one consistent temperature.
6. Test and Adjust
No two studios are the same. Record short test clips to see how your lighting looks on camera. Small tweaks in brightness, angles, and distance can make a big difference in the final result.
Final Thoughts
Good lighting doesn’t need to be complicated. By starting with natural light, upgrading to a simple three-point system or ring light, and paying attention to your background, you can instantly make your YouTube videos and podcasts look more professional. Remember: great lighting makes your content not just seen, but remembered.


