on September 01, 2025
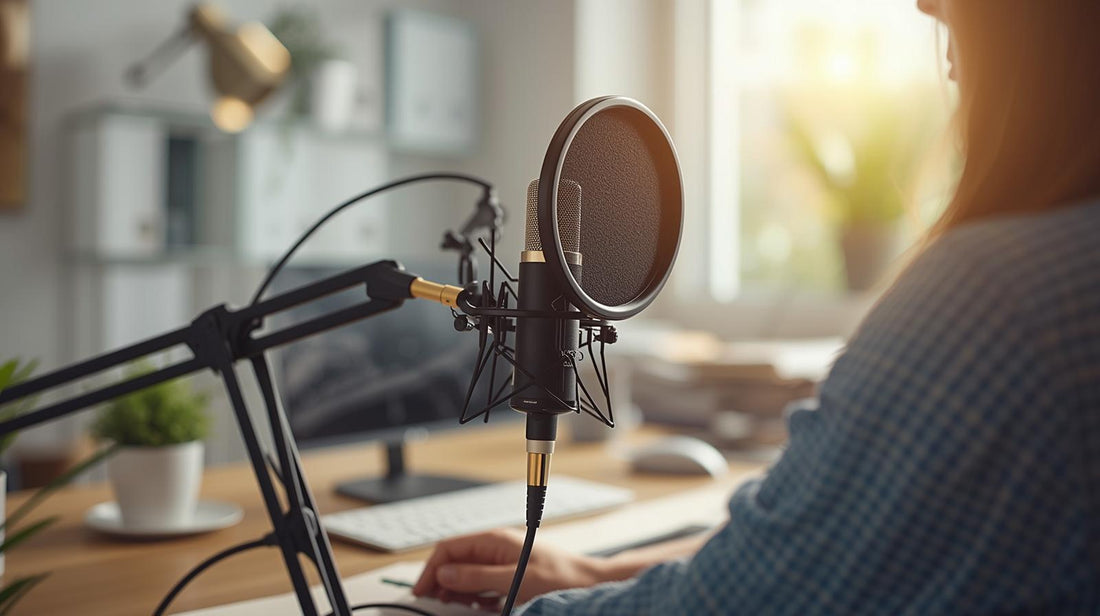
Getting your microphone into the right spot is one of the fastest ways to improve audio quality. A boom arm keeps the mic steady and out of the way, while a pop filter tames harsh “p” and “b” sounds. Follow the guide below to dial in a clean, comfortable setup for podcasting, streaming, or voiceover.

1) Place and Mount the Boom Arm
Clamp the boom arm to the sturdiest part of your desk—ideally near a leg or support where vibrations are lowest. Leave enough clearance behind your keyboard and monitor so you can swing the arm in and out without bumping anything. Tighten the clamp firmly, but avoid overtightening to protect your desk surface.
2) Balance and Tension the Arm
Assemble the arm per the manufacturer’s instructions, then attach the mic (with its shock mount if you use one). Adjust the arm’s springs or tension knobs so it holds the mic exactly where you leave it without drifting up or down. If the arm slowly sags, add tension; if it snaps upward, reduce tension.
3) Attach the Shock Mount (If Applicable)
A shock mount helps isolate desk bumps and keyboard noise. Thread the shock mount onto the arm’s end, then secure the mic. Ensure the mount is snug but not overtightened. Angle the mic so its capsule points toward your mouth once you’re in your natural speaking posture.

4) Add and Position the Pop Filter
Clamp the pop filter to the boom arm or shock mount. Place the screen between your mouth and the mic, about 1–2 inches (2.5–5 cm) from the mic grille. This spacing diffuses blasts of air before they hit the capsule. If plosives persist, increase the distance slightly or angle the mic a bit off-center from your mouth.
5) Find the Sweet Spot for Your Voice
Start with the mic 2–4 inches (5–10 cm) from your mouth. For dynamic mics (like broadcast-style mics), closer distances add warmth and reduce room noise. For sensitive condenser mics, try the farther end of that range to minimize harshness. Keep the pop filter between you and the mic at all times.
6) Aim and Angle to Reduce Plosives and Sibilance
Position the mic slightly off-axis—about 20–45° to one side—so your breath doesn’t hit the capsule straight on. This small angle plus the pop filter can dramatically reduce plosives (“p”/“b”) and tame sibilance (“s”/“sh”) without losing clarity.
7) Set Height for Comfort and Consistency
Raise the mic to roughly lip or chin height while you sit or stand in your normal posture. You should be able to speak straight ahead without craning your neck. Comfort makes it easier to maintain a consistent tone and distance throughout a recording session.
8) Manage Cables Quietly
Run the XLR or USB cable along the boom arm with loose Velcro ties or clips. Avoid tight cable loops at the pivot points to prevent noise when the arm moves. Leave a gentle “service loop” near the mic so it can swivel freely without tugging.
9) Gain Staging and Sound Check
Speak at your normal level and set your preamp/interface or software input so peaks land around -12 dB to -6 dB. If you’re using an audio interface or mixer, aim for a clean signal without clipping. For more on budget-friendly setup choices, see our studio guide: https://podcastgearhq.com/blogs/news/how-to-set-up-a-podcast-studio-on-a-budget.
10) Quick Troubleshooting
Plosives still present? Increase pop filter distance, angle the mic more off-axis, or back off the mic by an inch.
Arm sagging? Increase spring/knob tension or reduce mic weight by removing unnecessary adapters.
Desk noise? Move the clamp to a sturdier section of the desk, add a shock mount, and keep the arm base away from keyboard/mouse areas.
Recommended Next Reads
Polish your delivery without sounding stiff: https://podcastgearhq.com/blogs/news/how-to-script-a-podcast-episode-without-sounding-robotic
Grow your show through collaboration: https://podcastgearhq.com/blogs/news/how-to-collaborate-with-other-creators-to-grow-your-audience
Explore more podcasting tips on our blog: https://podcastgearhq.com/blogs/news
With a properly tuned boom arm and a well-placed pop filter, your mic stays stable, your voice stays consistent, and your audio stays clean—record after record.